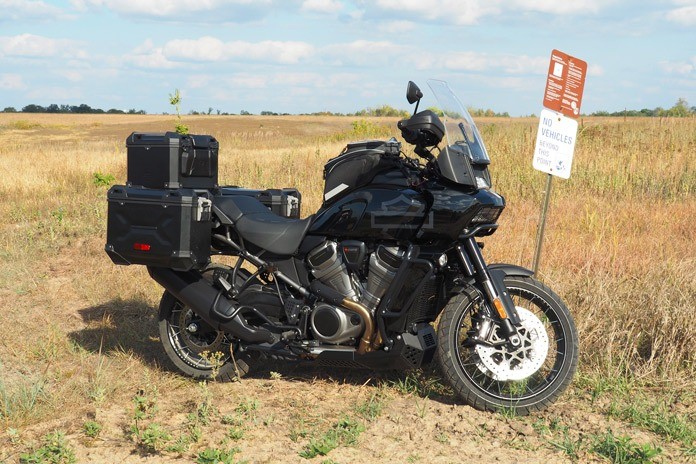
 Source: American Rider –
Last summer, I traded in my Street Glide bagger for a Harley-Davidson Pan America. I no longer wanted to pass up interesting fire roads and gravel trails, so I decided to take the plunge – and I haven’t looked back.

For me, the Harley-Davidson Pan America has taken motorcycle touring to the next level. However, my new Harley needed luggage to complete the transformation to a “Dirt Glide” bagger. And while I was at it, I wanted to add some protective accessories so it’d be fully ready for off-road exploration.
Since I trusted what the MoCo did to engineer my bike, I went to Harley-Davidson’s deep catalog of accessories to find what I needed. I ordered most of what comes in H-D’s Ultimate Trekker Package but without the quickshifter, air cleaner, and taller windshield. I was eager to begin installing them, but not being much of a mechanic, the idea of dismantling my new bike gave me pause. So I leaned heavily on the installation instructions and YouTube videos to help guide me through the process.
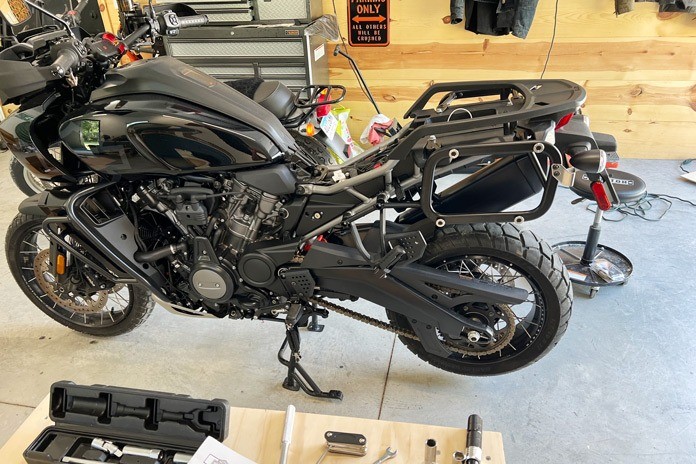
Taking it slow, I started by removing the stock lightweight skid plate and replacing it with Harley’s heavy-duty steel version. I judged this $400 item as critical because it shields important electrical components at the front of the motor and extends back under the oil pan.
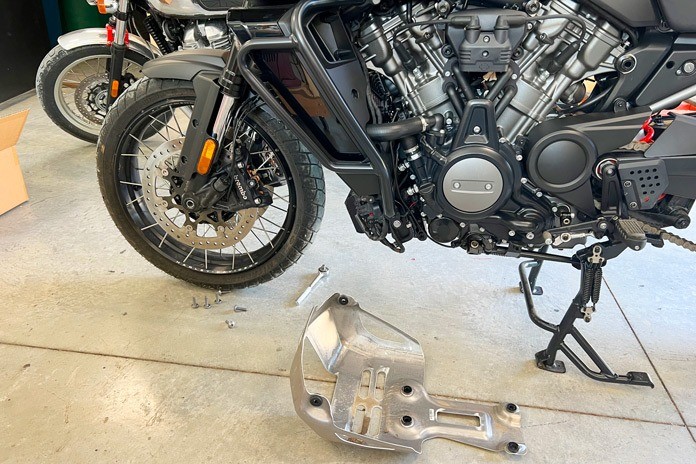
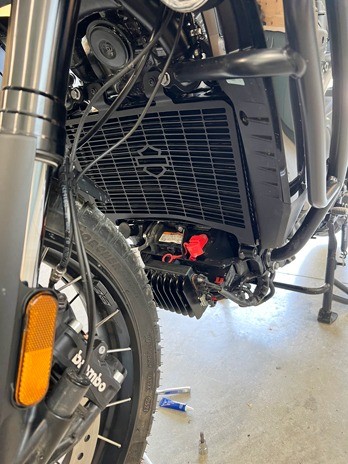
Additional protection was provided by H-D’s accessory muffler guard, radiator shield, and headlight guard, all of which are priced at around $120-180 each. Harley rates the installation difficulty levels on its instructions with wrench icons up to four. These are all rated at just two wrenches and were a breeze to install.
Next up were the parts that would transform my Harley-Davidson Pan America into a bagger. Aluminum side cases were first on my list, and I ordered them in black to match my bike. The waterproof cases were designed in collaboration with SW-Motech and use stainless‑steel hinges to prevent corrosion. The left‑side case has a capacity of 11.9 gallons (45 liters), but the other case holds only 9.8 gallons (37 liters) because of the cutaway to prevent contact with the muffler. Together with the mounting brackets, they are priced around $1,500.
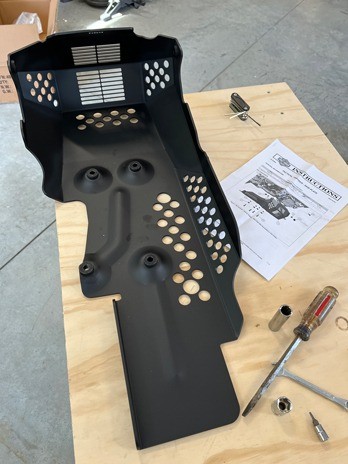
The installation directions are straightforward and include torque specs and instructions to use threadlocker on the fasteners to prevent them from backing out. The cases also require installation of the included security latches and lock kits. Easy enough.
I was on a roll, and I continued with the installation of the Top Case Mounting Kit, which requires unbolting the passenger grab rail and taillight. Once reassembled, the Aluminum Top Case, which holds 10 gallons (38 liters) of stuff up to 22 lb, was easy to mount. I also installed the Backrest Pad in case I can persuade my wife to ride with me. The top case kit is priced at around $780.
These additions transformed my Pan Am into a dirt‑worthy bagger. Next up was to brighten nighttime roads with auxiliary lighting elements. I chose the Daymaker LED Forward Auxiliary Lights, which are priced at around $550.
The process is rated at only a two-wrench skill level, but it requires removing the gas tank and airbox, which was unfamiliar to me. It took a fair bit of wrenching to complete this installation, but the result was worth the aggravation, as they really help illuminate dark paths ahead.
The final component for this round of accessories was the Tank Bag, which only involved unscrewing two fasteners to install the straps that secure it. The bag has a capacity of 2.1 gallons (8 liters) and costs about $275. It’s a great addition for whenever a full complement of luggage isn’t required.
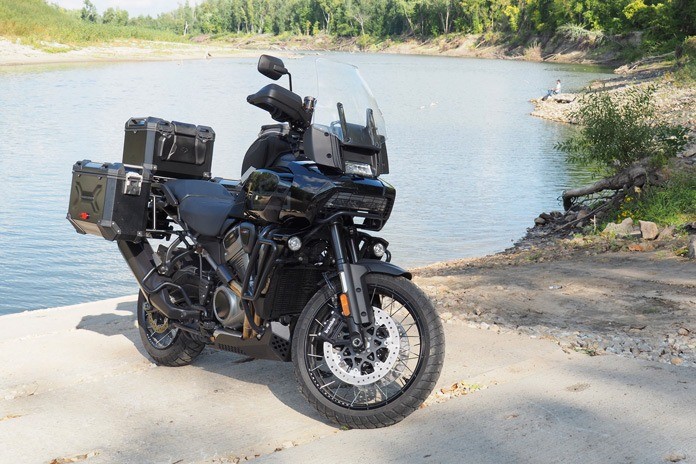
With my Pan Am kitted out, I took a 1,600-mile trip from my Minnesota home to Michigan’s Upper Peninsula. The various cases and tankbag offer a lot of flexibility in storage options for whatever a trip might require, providing more space for my stuff than my old bagger. Additionally, there’s plenty of room behind me to strap on additional gear using the side cases’ loop holders, and it’s quite easy to strip the cases from the bike for day rides when all I need for storage is a tankbag.
In the end, I found it easy to transform my Pan Am to a touring-worthy adventure bike. The process also helped me become familiar with the removal of the gas tank and airbox for future maintenance and potential upgrades.
Throughout the process, I was impressed with the installation instructions and quality of each component. The Pan Am offers a blank canvas of modification opportunities, and it now does everything my Street Glide Special did and much more.
See all of American Rider’s product reviews here.
The post AR Tested: Harley-Davidson Pan America Luggage and Accessories appeared first on American Rider.


